 If you know my sister-in-law...don't tell her yet! =o) I've excluded her from the posts! =o) Ssshhhh!!!!
My sister-in-laws bridal shower is coming up at the end of April and the bridesmaids and I decided on a last minute center piece idea. I originally was going to make center pieces with cake pops that we are getting. (Link to her site: From Cake Pops by Gina) But since we plan on giving the center pieces away, it was easier to have a different center piece.
I wanted something inexpensive, classy, rustic, and simple.
So I have been looking through Pinterest, and I found some awesome ideas with wine bottles. Now my dilemma is that I don't really drink wine or beer much at home. But luckily I have lots of friends who do drink wine and a husband who drinks beer! =o) I helped a little with the beer, but I can't thank everyone enough! =o)
I combined a few ideas I saw on Pinterest to make what I wanted. =o)
Materials:
3 Bottles (One Large wine, One Medium Wine, One Beer)
1 Can of Frosting Spray Paint
1 Can of Lacquer
1.5 in Ribbon (Various colors)
.75 in Ribbon (Various colors)
Rubber bands
1 to 1.5 in pieces of wood (Make sure to spray the lacquer on the wood before you use it!)
Chalk board Picks
Burlap (I found some at Michaels and it was labeled as a burlap table runner)
Hot glue gun and glue
Gorilla glue
Fake or Real flowers
Any decorations that you want
 |
| Rubber bands, laquer, frosting spray, and ribbon |
 |
| Side view of the wood piece. Luckily my husband just cut some of the wood we had in the backyard. |
 |
| Top view of the wood |
 |
| Chalkboard Picks I found at Michaels in the bridal department |
 |
| The burlap I found and the fake flower I used on the bottles |
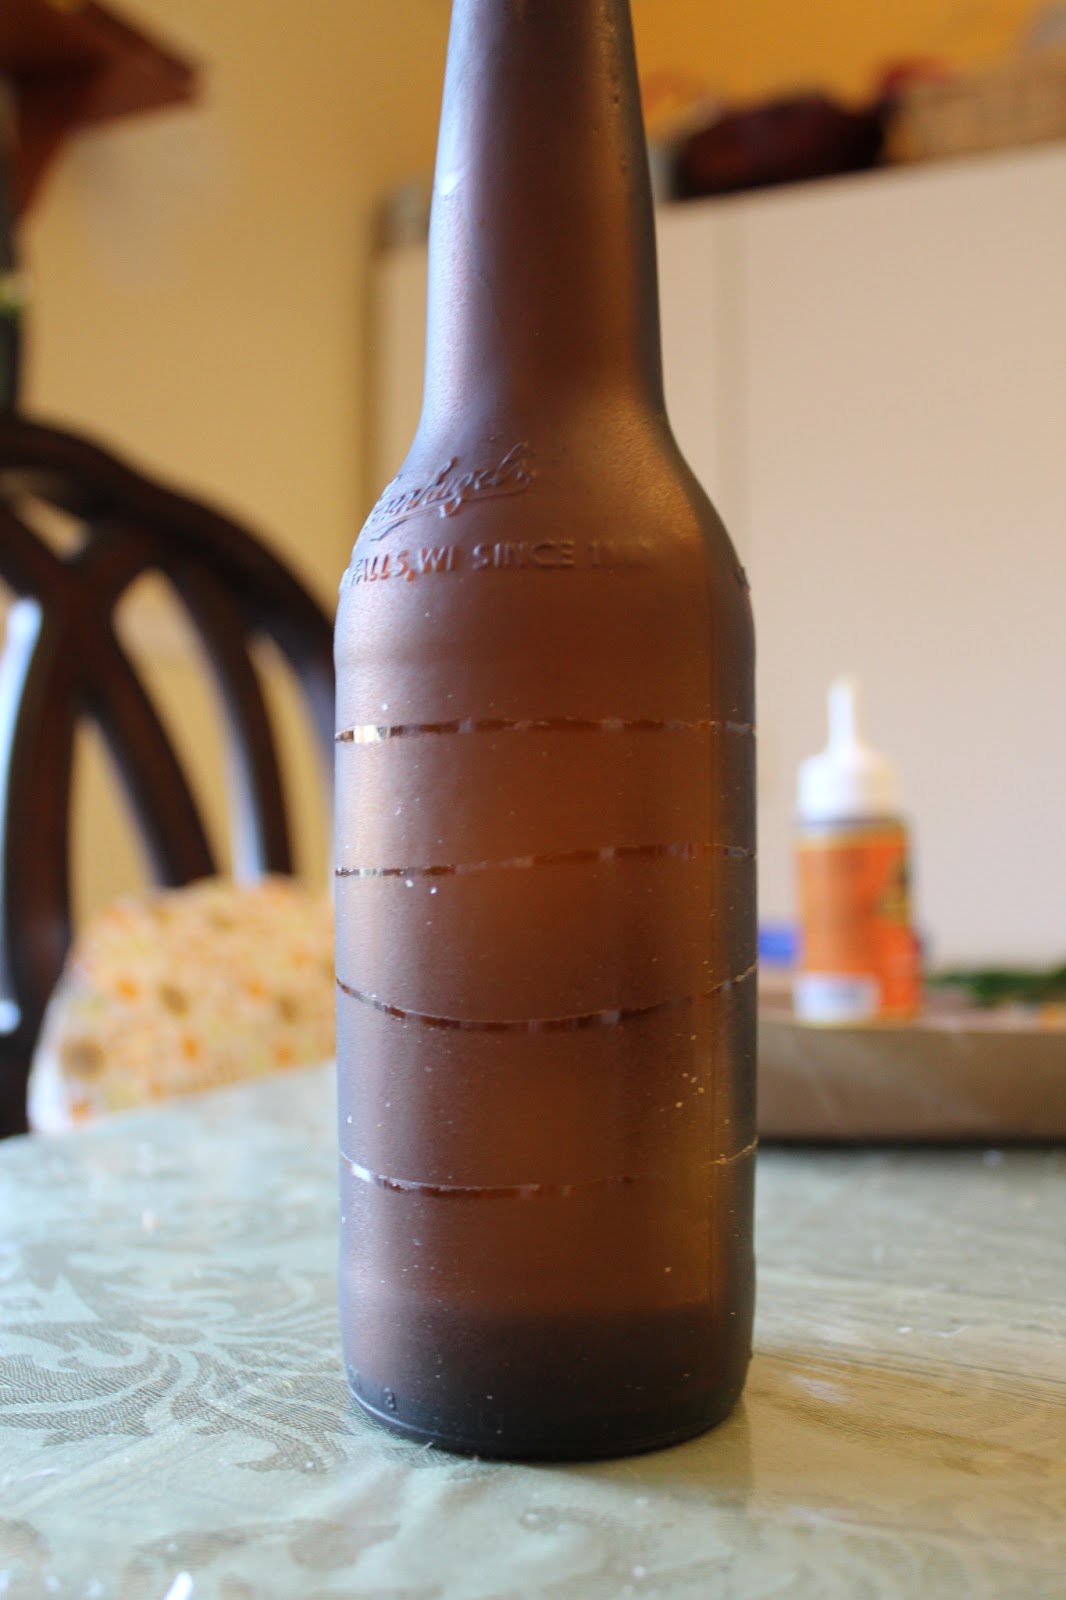
Second: Spray the Medium Wine bottle and the Beer bottle with the Frosting Spray.
 |
| I put rubber bands around the beer bottle to create a different effect. |
 |
| What it looks like after you spray and take the rubber bands off. |
Fourth: Cover the rubber band with ribbon, cut to size.
Glue the end piece onto the burlap.
Cover the rubber band and glue the other end.
Fifth: Take the Gerber Daisy (Or whatever flower you chose) and only use the flower portion, not the stem. Hot glue that onto the seam of the ribbon to cover it.
 |
| I matched the ribbon with the flower. =o) |
 |
| I glued the knot in the back, then cut off the excess and glued the ends down. |
Seventh: Choose the arrangement you want and glue the bottles down to the wood. I put a circle of Gorilla glue on the bottom of each and also a circle of hot glue where I wanted the bottles to go. Then when the bottles were on the wood, I put glue around the bottom to seal the bottle to the wood.
 | |
| You can see I put hot glue in the space left between the bottle and the wood to ensure that it stayed in place. |
Enjoy! =o) I can't wait to see what people think of this. =o)


Seriously these are incredible Min! You are so sweet for making these for the bridal shower :-)
ReplyDelete